How to compost our products at home
Home Composting
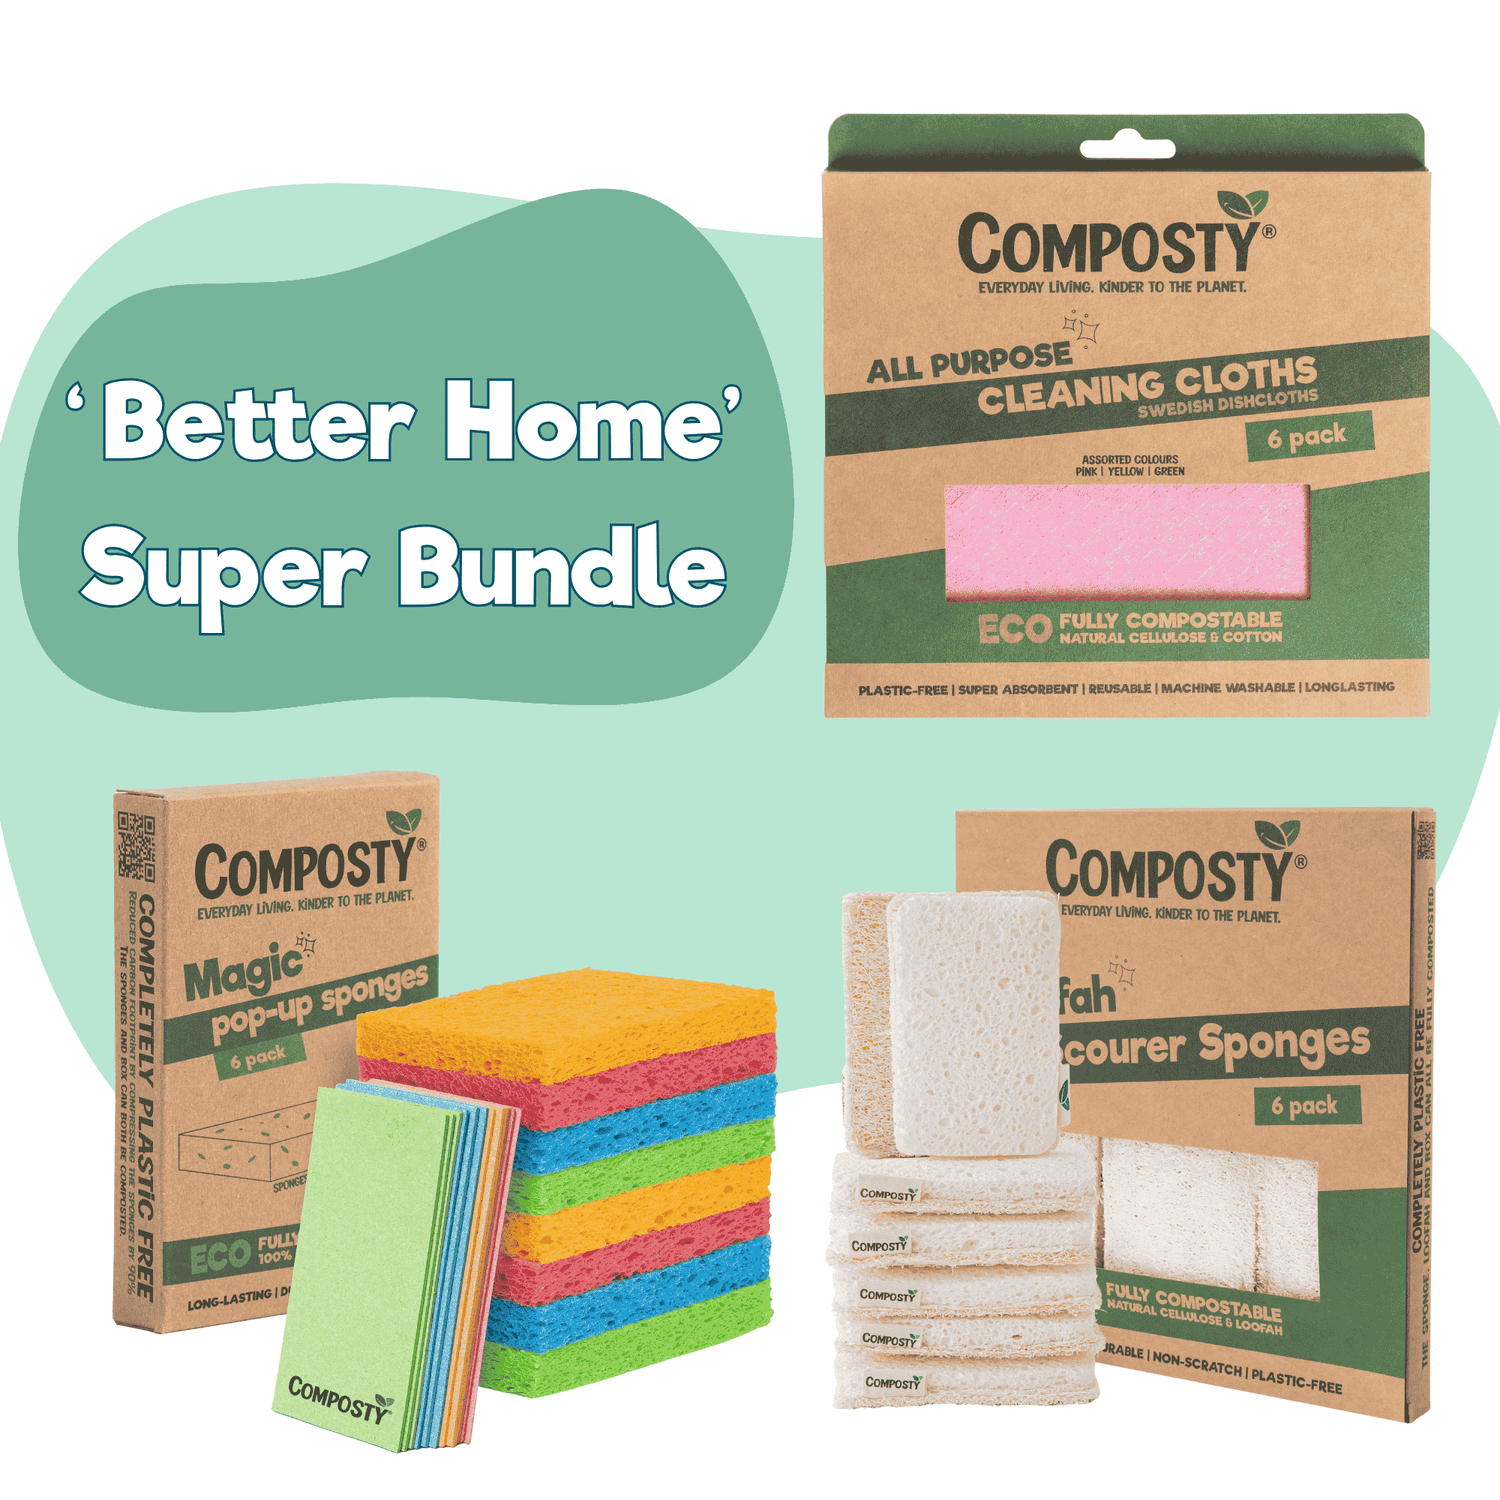
All materials used in Composty sponges, cloths and packaging are plant-based, plastic-free and home-compostable.
When they’re worn out, cut them into pieces and add to your compost with a good mix of greens and browns.
When turned regularly and with air and moisture in balance, they’ll break down in around 3–6 months.
Read on to learn how to make compost that your garden will thank you for!
How to compost our products

Prepare
Cut used sponges & cloths into thin strips or small pieces. Smaller pieces break down faster.
Compost
Add to a well-managed bin or heap with a balanced greens/browns mix.

Enjoy!
Ready in 3–6 months under ideal conditions. Use to nourish your garden and plants.
How to make compost
Aim for a mix of green and brown materials.
There should always be more brown than green. Aim for 2:1 or 3:1 brown to green.


There are many more options that will work. For example, did you know you can even compost your hair and finger nails?
Please read our popular blog post on this topic, to find out more.
Composting best practices
Do
-
Balance the mix: keep 2–3 parts browns : 1 part greens in your home compost bin.
-
Chop small: cut scraps and Composty pieces into 1–3 cm strips and mix through.
-
Moisture check: aim for wrung-out sponge damp; fix wet with browns, fix dry with greens + water.
-
Add oxygen: turn every 1–2 weeks (tumbler: 2–3×/week), pulling edges into the hot centre.
-
Setup bin on bare soil, part-shade, lid on; cap fresh scraps with browns to deter flies.
Don't
-
No contaminants: plastic, microfibre cloths, glossy/laminated paper, oils/fats, meat/fish/dairy, pet waste.
-
Don’t go airless: piling without mixing = anaerobic, smelly compost.
-
Don’t overload greens: big, wet dumps stall the heap—layer with browns.
-
Don’t ignore seasons: winter is slower; cut smaller, turn, insulate.
-
Don’t place poorly: avoid sealed concrete and leaving heaps uncovered to heavy rain or harsh sun.
-
Don't use compost until it is a crumbly consistency.
Composting FAQ
If your compost is too wet, add dry brown materials like dried leaves, shredded paper, or cardboard. Turn the pile to improve aeration and help excess moisture evaporate. You can also temporarily cover the pile to prevent more rain from getting in.
You can use tumbler bins for easy turning, stationary bins for larger volumes, or wire bins for good airflow. For small spaces, try worm bins or bokashi buckets. Even a simple pile in your garden works well if you have the space.
Try indoor composting with a worm bin or bokashi system. Many communities have composting programs where you can drop off food scraps. You can also use finished compost for houseplants or donate it to local gardens and community spaces.
Hot composting can produce finished compost in 2-3 months with regular turning and proper ratios. Cold composting takes 6-12 months but requires less maintenance. Factors like temperature, moisture, and materials used affect the timeline.
Avoid meat, dairy, oils, pet waste, diseased plants, and weeds with seeds. Also skip treated wood, glossy paper, and anything with chemicals. These items can attract pests, create odors, or introduce harmful substances to your compost.
Bad smells usually mean too much moisture, not enough air, or too many green materials. Turn your pile more frequently, add dry brown materials, and ensure proper drainage. A healthy compost should smell earthy, not sour or rotten.